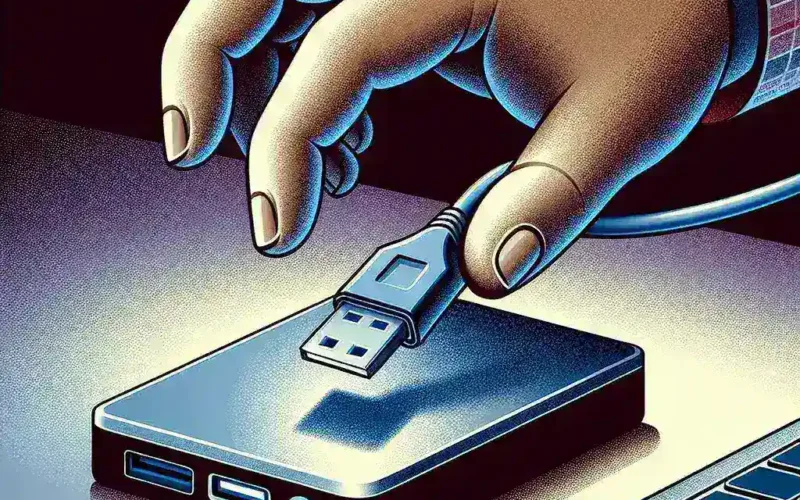
Safely ejecting an external hard drive is crucial to ensure that your data is not corrupted and to prevent damage to the hardware. Improper ejection can lead to data loss and may even render your drive unusable. This guide will walk you through the process of safely ejecting an external hard drive on different operating systems.
Why Proper Ejection is Crucial
Before we dive into the steps, it’s essential to understand why safely ejecting an external hard drive is important. When you eject a drive, your computer ensures that all data transfers to the drive are complete. Removing it abruptly can interrupt these transfers, risking data corruption or loss. Here’s a quick look at some common issues that can arise from improper ejection:
- Data corruption
- Loss of unsaved work
- Drive malfunction
- System errors
Steps to Eject an External Hard Drive on Different Operating Systems
Ejecting on Windows
Follow these steps to safely eject your external hard drive on a Windows operating system:
- Locate the USB icon: Find the USB icon on the taskbar, usually in the lower-right corner of your screen.
- Click the icon: Click on the USB icon to see a list of connected devices.
- Select the drive: Choose your external hard drive from the list. A message will appear, letting you know it’s safe to remove hardware.
- Wait for the notification: Once you see the message stating it’s safe to remove the device, you can unplug your drive.
Steps Summary
| Step | Description |
|---|---|
| 1 | Locate the USB icon on the taskbar |
| 2 | Click the icon to see connected devices |
| 3 | Select and eject the external hard drive |
| 4 | Wait for the safe-to-remove notification |
Ejecting on macOS
Follow these steps to safely eject your external hard drive on macOS:
- Locate the drive icon: Find the drive icon on your desktop.
- Right-click the icon: Right-click on the drive icon.
- Select Eject: Choose the ‘Eject’ option from the context menu.
- Wait for the icon to disappear: Once the drive icon disappears from your desktop, it is safe to remove the drive.
Steps Summary
| Step | Description |
|---|---|
| 1 | Locate the drive icon on the desktop |
| 2 | Right-click the drive icon |
| 3 | Select the ‘Eject’ option |
| 4 | Wait for the drive icon to disappear |
Ejecting on Linux
Follow these steps to safely eject your external hard drive on a Linux operating system:
- Open the file manager: Access your file manager to locate the external hard drive.
- Locate the drive: Find the external hard drive listed under connected devices.
- Right-click and select Unmount: Right-click on the drive and choose ‘Unmount’ or ‘Eject.’
- Wait for notification: Wait until your file manager confirms that it’s safe to remove the drive.
Steps Summary
| Step | Description |
|---|---|
| 1 | Open the file manager |
| 2 | Locate the external hard drive |
| 3 | Right-click and select ‘Unmount’ or ‘Eject’ |
| 4 | Wait for the confirmation notification |
Troubleshooting Common Ejection Issues
Sometime your computer might refuse to eject the external hard drive, showing a message like ‘This device is currently in use.’ Here’s what you can do in such cases:
- Close open files: Make sure all files and applications using the drive are closed.
- Stop background processes: Check if any background process is accessing the drive and stop them.
- Restart your computer: As a last resort, restarting your computer can resolve the issue, making it safe to remove the drive.
Conclusion
Properly ejecting an external hard drive is a simple yet essential task to prevent data corruption and hardware damage. By following the steps outlined above for your specific operating system, you can ensure the safety and longevity of your external storage devices.
Happy computing!

