
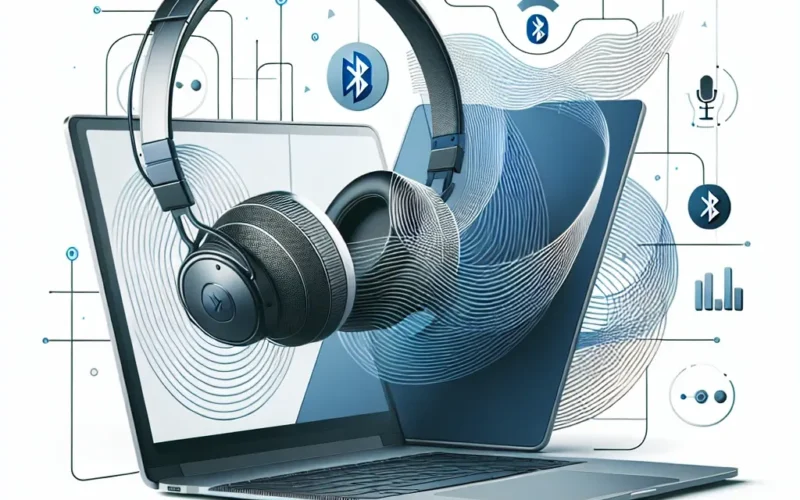
Pairing your Sony headphones with a Mac is a straightforward process. Whether you have the latest model or an older version, the basic steps remain largely the same. In this guide, we will walk you through the entire process to ensure that you can enjoy your music, movies, and calls seamlessly.
Quick Overview of Pairing Sony Headphones with Mac
Before diving into the detailed steps, let’s start with a brief overview:
| Action | Description |
|---|---|
| Turn On | Power on your Sony headphones. |
| Enable Pairing Mode | Set your headphones to pairing mode. |
| Access Bluetooth Settings | Open your Mac’s Bluetooth settings. |
| Select Device | Choose your headphones from the list of available devices. |
| Connect | Pair the headphones with your Mac. |
Now, let’s go into each of these steps in detail:
Step 1: Turn On Your Sony Headphones
The first step is to ensure that your Sony headphones are powered on. Most Sony headphones have a power button on one of the earcups. Press and hold the power button until you see the indicator light turn on.
Step 2: Enable Pairing Mode
Once your headphones are powered on, the next step is to activate pairing mode. Depending on your headphones model, this process can vary slightly:
- For newer models, press and hold the power button until you hear a voice prompt indicating that the headphones are in pairing mode.
- For older models, you may need to press and hold both the power button and the volume up button at the same time.
Check the user manual for your specific model if you are unsure.
Step 3: Access Bluetooth Settings on Mac
With your headphones in pairing mode, it’s time to turn your attention to your Mac:
- Click on the Apple menu in the top-left corner of the screen.
- Select System Preferences.
- Click on Bluetooth to open Bluetooth settings.
Ensure that Bluetooth is turned on. If it is not, click the Turn Bluetooth On button.
Step 4: Select Your Headphones
In the Bluetooth settings, you should see a list of available devices. Your Sony headphones should appear in this list:
- Look for the name of your Sony headphones.
- Click on the Connect button next to your headphones’ name.
If prompted, confirm the pairing on both your Mac and headphones.
Step 5: Verify the Connection
After hitting the Connect button, your Mac will begin pairing with the headphones:
- Once connected, you should see a status indicator next to your headphones’ name in the Bluetooth menu.
- You can also verify the connection by playing some audio. If you hear the sound through your headphones, the pairing is successful.
Troubleshooting Common Issues
If you encounter issues during the pairing process, don’t worry. Here are some common problems and their solutions:
Headphones Not Appearing in Bluetooth List
- Ensure the headphones are in pairing mode. Restart them if necessary.
- Ensure your Mac’s Bluetooth is turned on and discoverable.
Unable to Connect After Pairing
- Restart both your Mac and headphones.
- Delete the headphones from the Bluetooth device list and try pairing again.
Audio Cutting In and Out
- Ensure that both devices are within a reasonable range – typically no more than 30 feet.
- Check for potential sources of interference, such as other Bluetooth devices or Wi-Fi signals.
By following these steps, you should be able to successfully pair your Sony headphones with your Mac, enjoy high-quality audio, and take full advantage of your headphones’ features.